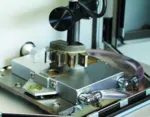
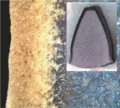
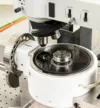
Documentation, examinations, and measurements are carried out in the laboratory area to accompany the tests. All test parts are measured before, during, and after the test. The core of the examinations of gears is the control of the shape and position of the gear geometry, measured with the gear measuring center. Surface profiles and structures are recorded with roughness measuring equipment in 2D and 3D measurements. High-precision scales allow the exact determination of the test part weight and thus the tracking of mass loss, e.g., in wear tests. The test progress and the entire components and test stands are documented with digital cameras and recorded in a central image database.


