| Manufacturer | ZwickRoell GmbH & Co. KG |
| Model | BUP 1000 |
| Year of Production | 2014 |
Brief Description:
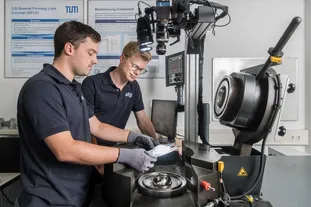
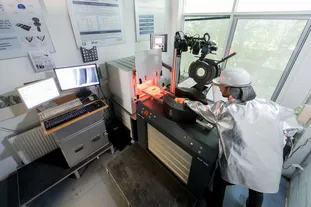
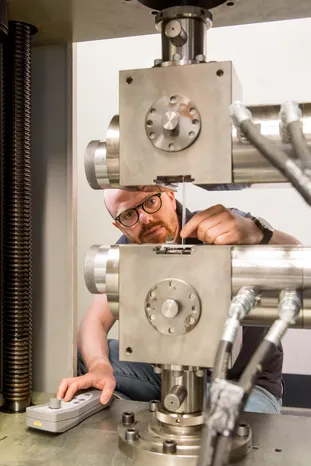
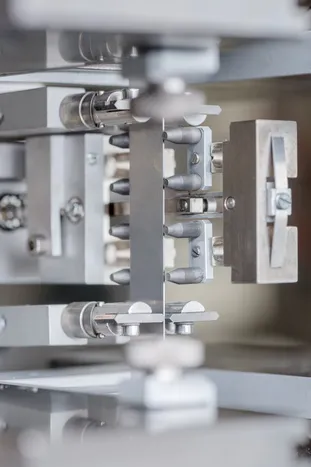
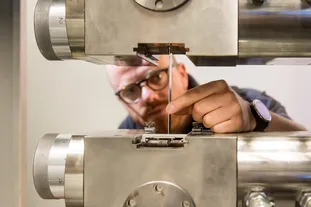
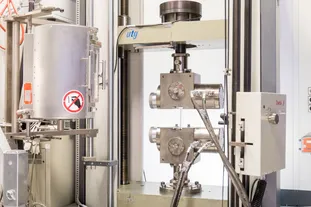
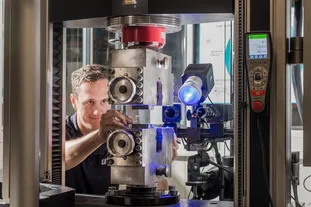
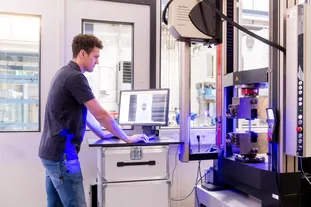
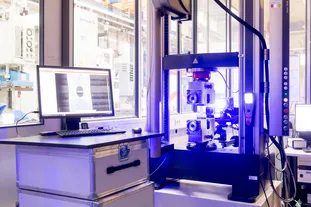
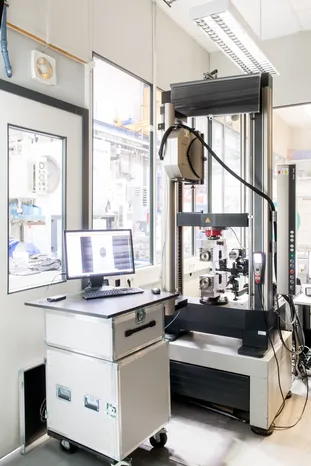
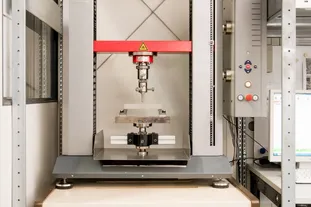
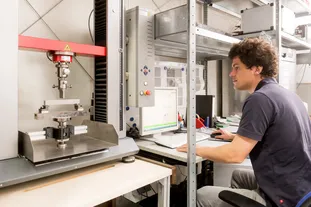
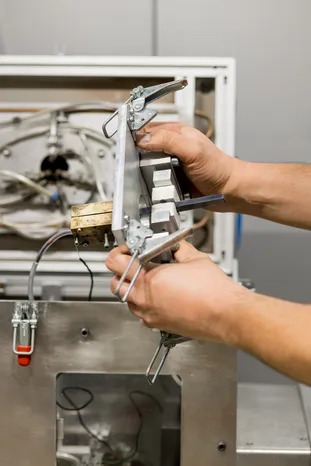
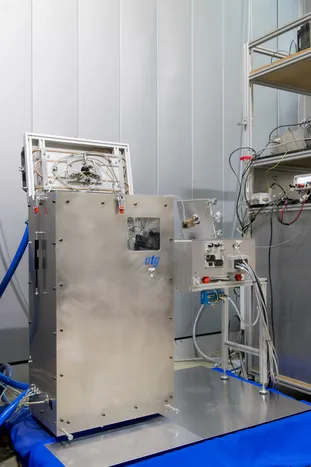
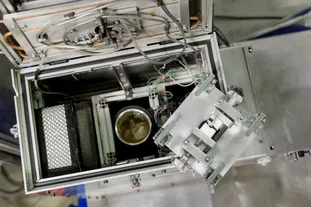
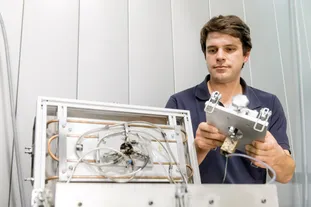
The BUP 1000 sheet metal testing machine from ZwickRoell is applied when characterizing a wide variety of sheet materials in terms of formability and strength. Its modular design allows different tools to be installed, e.g., tools designed for the Nakajima, Marciniak, or hydraulic cupping tests. An investigation of ultra-high-strength materials is possible due to the maximum punch and sheet holder force of 1000 kN. By coupling with the optical measuring system ARAMIS 4M from GOM GmbH, it is possible to record tests time-continously and analyze the occuring strains.
Watch a video on material characterization with the BUP 1000 at utg here.
Technical Specifications:
| Maximum Ram Force | 1000 kN |
| Maximum Blank Holder Force | 1000 kN |
| Maximum Outside Drawing-Die Diameter | Ø 250 mm |
| Maximum Inside Drawing-Punch Diameter | Ø 120 mm |
| Ram Stroke | 0 ... 150 mm |
| Deepening Speed | 0,05 ... 50 mm/s |
| Strain Measurement System | GOM Aramis 4M |
Main Areas of Application:
- Determination of forming limit curves
- Recording of flow curves
- Material Under Control (MUC) - material card validation test
- Mapping of non-linear expansion paths using a passive crimping tool
Equipment:
- Nakajima tool, punch diameter 100 mm
- Marciniak tool, punch diameter 100 mm
- Tool for hydraulic cupping test (bulge test)
- Passive crimping tool
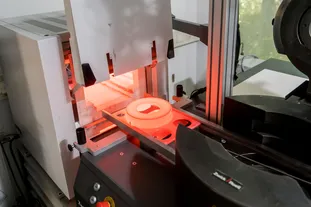
- High temperature furnace for hot tests up to 950°C
- Material Under Control (MUC) test
Photo Gallery:
| Manufacturer | ZwickRoell GmbH & Co. KG |
| Model | Zwick 1484 |
| Year of Modernisation | 2001 |
Brief Description:
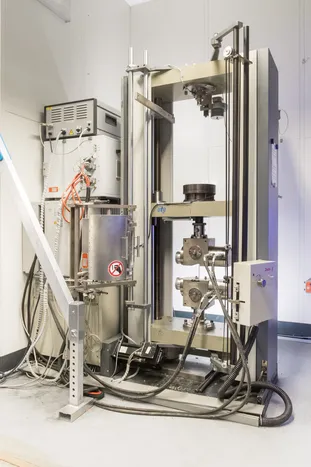
The ZwickRoell material testing machine can be used universally for the testing of materials. Its modular design offers maximum flexibility and expansion options. Force measurement for the stress determination occurs on load cells mounted in the machine, which can accommodate a maximum force of 200 kN or 20 kN. So-called DUPS control the machine via electronics and the TestXpert II software.
Technical Specifications:
| Maximum Test Force in Tension and Compessive Direction (lower test area) | 200 kN |
| Maximum Test Force in Tension and Compessive Direction (upper test area) | 20 kN
|
| Traverse Speeds Vmin...Vmax | 0,0001 ... 200 mm/min |
| Maximum Workspace | 630 mm x 1550 mm (w x h) |
| Maximum Traverse Path | 1400 mm |
Main Areas of Application
- Material characterization including tensile test, (tensile) compression tests, layer crush tests, high-temperature tests
- Calibration of load cells in specially developed forming/punching tools
- Operation of forming and stamping dies
Equipment
- ZwickRoell hydraulic clamping jaws (up to 200 kN)
- ZwickRoell mechanical clamping jaws (up to 150 kN)
- Various tools for material characterization
- MayTec high-temperature furnace for uniaxial tensile tests (20°C ... 900°C)
- Temperature chamber (-70°C ... 20°C)
- Length and width extensometer for tactile strain measurement
- Optional: GOM Aramis SRX for optical strain measurement
Photo Gallery
| Manufacturer | ZwickRoell GmbH & Co. KG |
| Model | AllRound Line Z 150 |
| Year of Production | 2015 |
Brief Description:
The material testing machine from ZwickRoell can be used universally for the testing of materials. Its modular design offers maximum flexibility and expansion options. Force measurement to determine the stress occurs via the load cell, which is permanently mounted on the crosshead and can accommodate a maximum force of 150 kN. The TestXpert III software controls the latest version of the machine.
Technical Specification:
| Maximum Test Force in Tensile and Compressive Direction | 150 kN |
| Traverse Speeds Vmin...Vmax | 0,0001 ... 900 mm/min |
| Workspace Width | 640 mm |
| Workspace Height | 1700 mm |
Main Areas of Application:
- Material characterisation including tensile tests, (tensile) compression tests, shear tensile tests, plane strain tests
- Calibration of load cells in specially developed forming/punching tools
- Investigation of edge crack sensitivity
Equipment:
- ZwickRoell hydraulic clamping jaws (up to 200 kN)
- ZwickRoell mechanical clamping jaws (up to 150 kN)
- Various tools for material charakterization
- ZwickRoell measuring boxes for strain measurement with strain gauges (3 pcs.)
- GOM Aramis SRX for optical strain measurement
- ZwickRoell LaserXtens Array for optical strain measurement
- ZwickRoell Tsens for determination the change in specimen temperature
Photo Gallery:
| Manufacturer | ZwickRoell GmbH & Co. KG |
| Model | AllRound Line Z 20 |
| Year of Production | 2013 |
Brief Description:
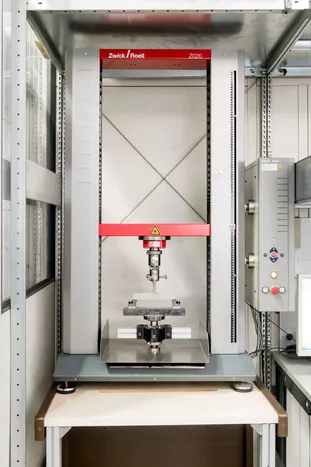
The material testing machine from ZwickRoell can be used universally for testing materials. Its modular design offers maximum flexibility and expansion options. Force measurement to determine the stress occurs via the load cell, which is permanently mounted on the crosshead and can accommodate a maximum force of 20 kN. The TestXpert III software controls the latest version of the machine.
Technical Specifications:
| Maximum Test Force in Tensile and Compressive Direction | 20 kN |
| Traverse Speeds Vmin...Vmax | 0,0001 ... 1000 mm/min |
| Workspace Width | 440 mm |
| Workspace Height | 1030 mm (reduced by height of tool) |
Main Areas of Application:
- Material characterization of moulding materials
Equipment:
- 3-point bending device
- 4-point bending device
- Test Assembly for uniaxial compression test
- Test Assembly for biaxial compression test
- Test Assembly for biaxial bending test
Photo Gallery:
| Manufacturer | utg in-house design |
| Model | DEMBER-SBK 3000 |
| Year of Production | 2011 |
Brief Description:
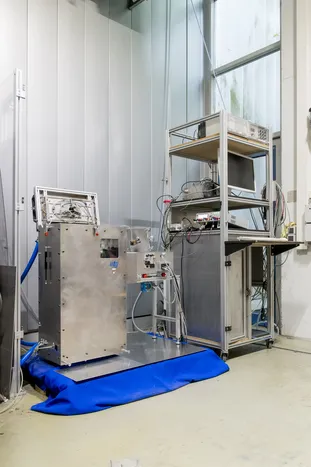
We developed this measuring apparatus especially to determine the material-specific Seebeck coefficient, which describes the thermoelectric behaviour of a material. Based on the integral measurement method, the temperature difference between the two ends of a test sample is increased continuously from 0 °C to 700 °C, and the resulting thermoelectric voltage is determined. The material characterization is relative to the reference material platinum and bases on both the heating and cooling curves. In principle, the unique set-up allows the investigation of all electrically conductive pure elements, material alloys and coatings.
Technical Specifications:
| Temperature Range | -20 ... 700 °C |
Specimen Geometry Round Rod Flat Specimen Length |
thinnest wires up to Ø 10 mm 0,1 ... 8 mm 120 ... 400 mm |
| Material Classes | all electroconductive metals |
| Reference Material | Platinum |
Main Areas of Application:
- Material chracterization (determination of the Seebeck coefficient)
- Calibration of tool-workpiece thermocouples
Photo Gallery:
| Manufacturer | utg in-house design |
Brief Description:
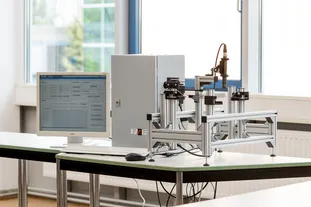
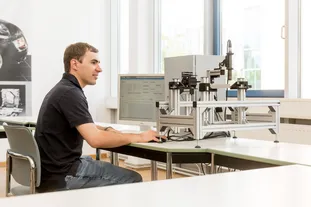
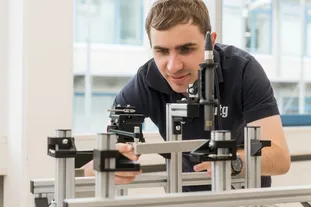
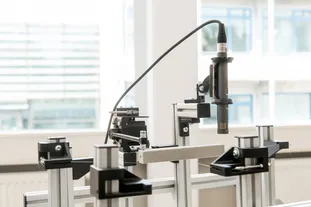
The acoustic test bench bases on the pulse excitation method and is used to measure Young's modulus, shear modulus, and transverse contraction number of cuboid specimens. An impulse is applied at a defined point on the specimen using a hammer attached to an electric motor, causing it to vibrate. A microphone is required to measure the resulting vibrations transmitted from the sample to the environment. It is then possible to calculate the specimen's elastic constants with a frequency analysis of the signal.
Technical Specifications:
| Maximum Size of Specimen | 400 mm x 200 mm x 150 mm |
| Maximum Frequency | 48000 Hz |
| Frequency Response of the Microphone | 20 ... 20000 Hz |
| Maximum Temperature of specimen | 700 °C |
Main Area of Application:
- Determination of Young's modulus, shear modulus, and Poisson number

